
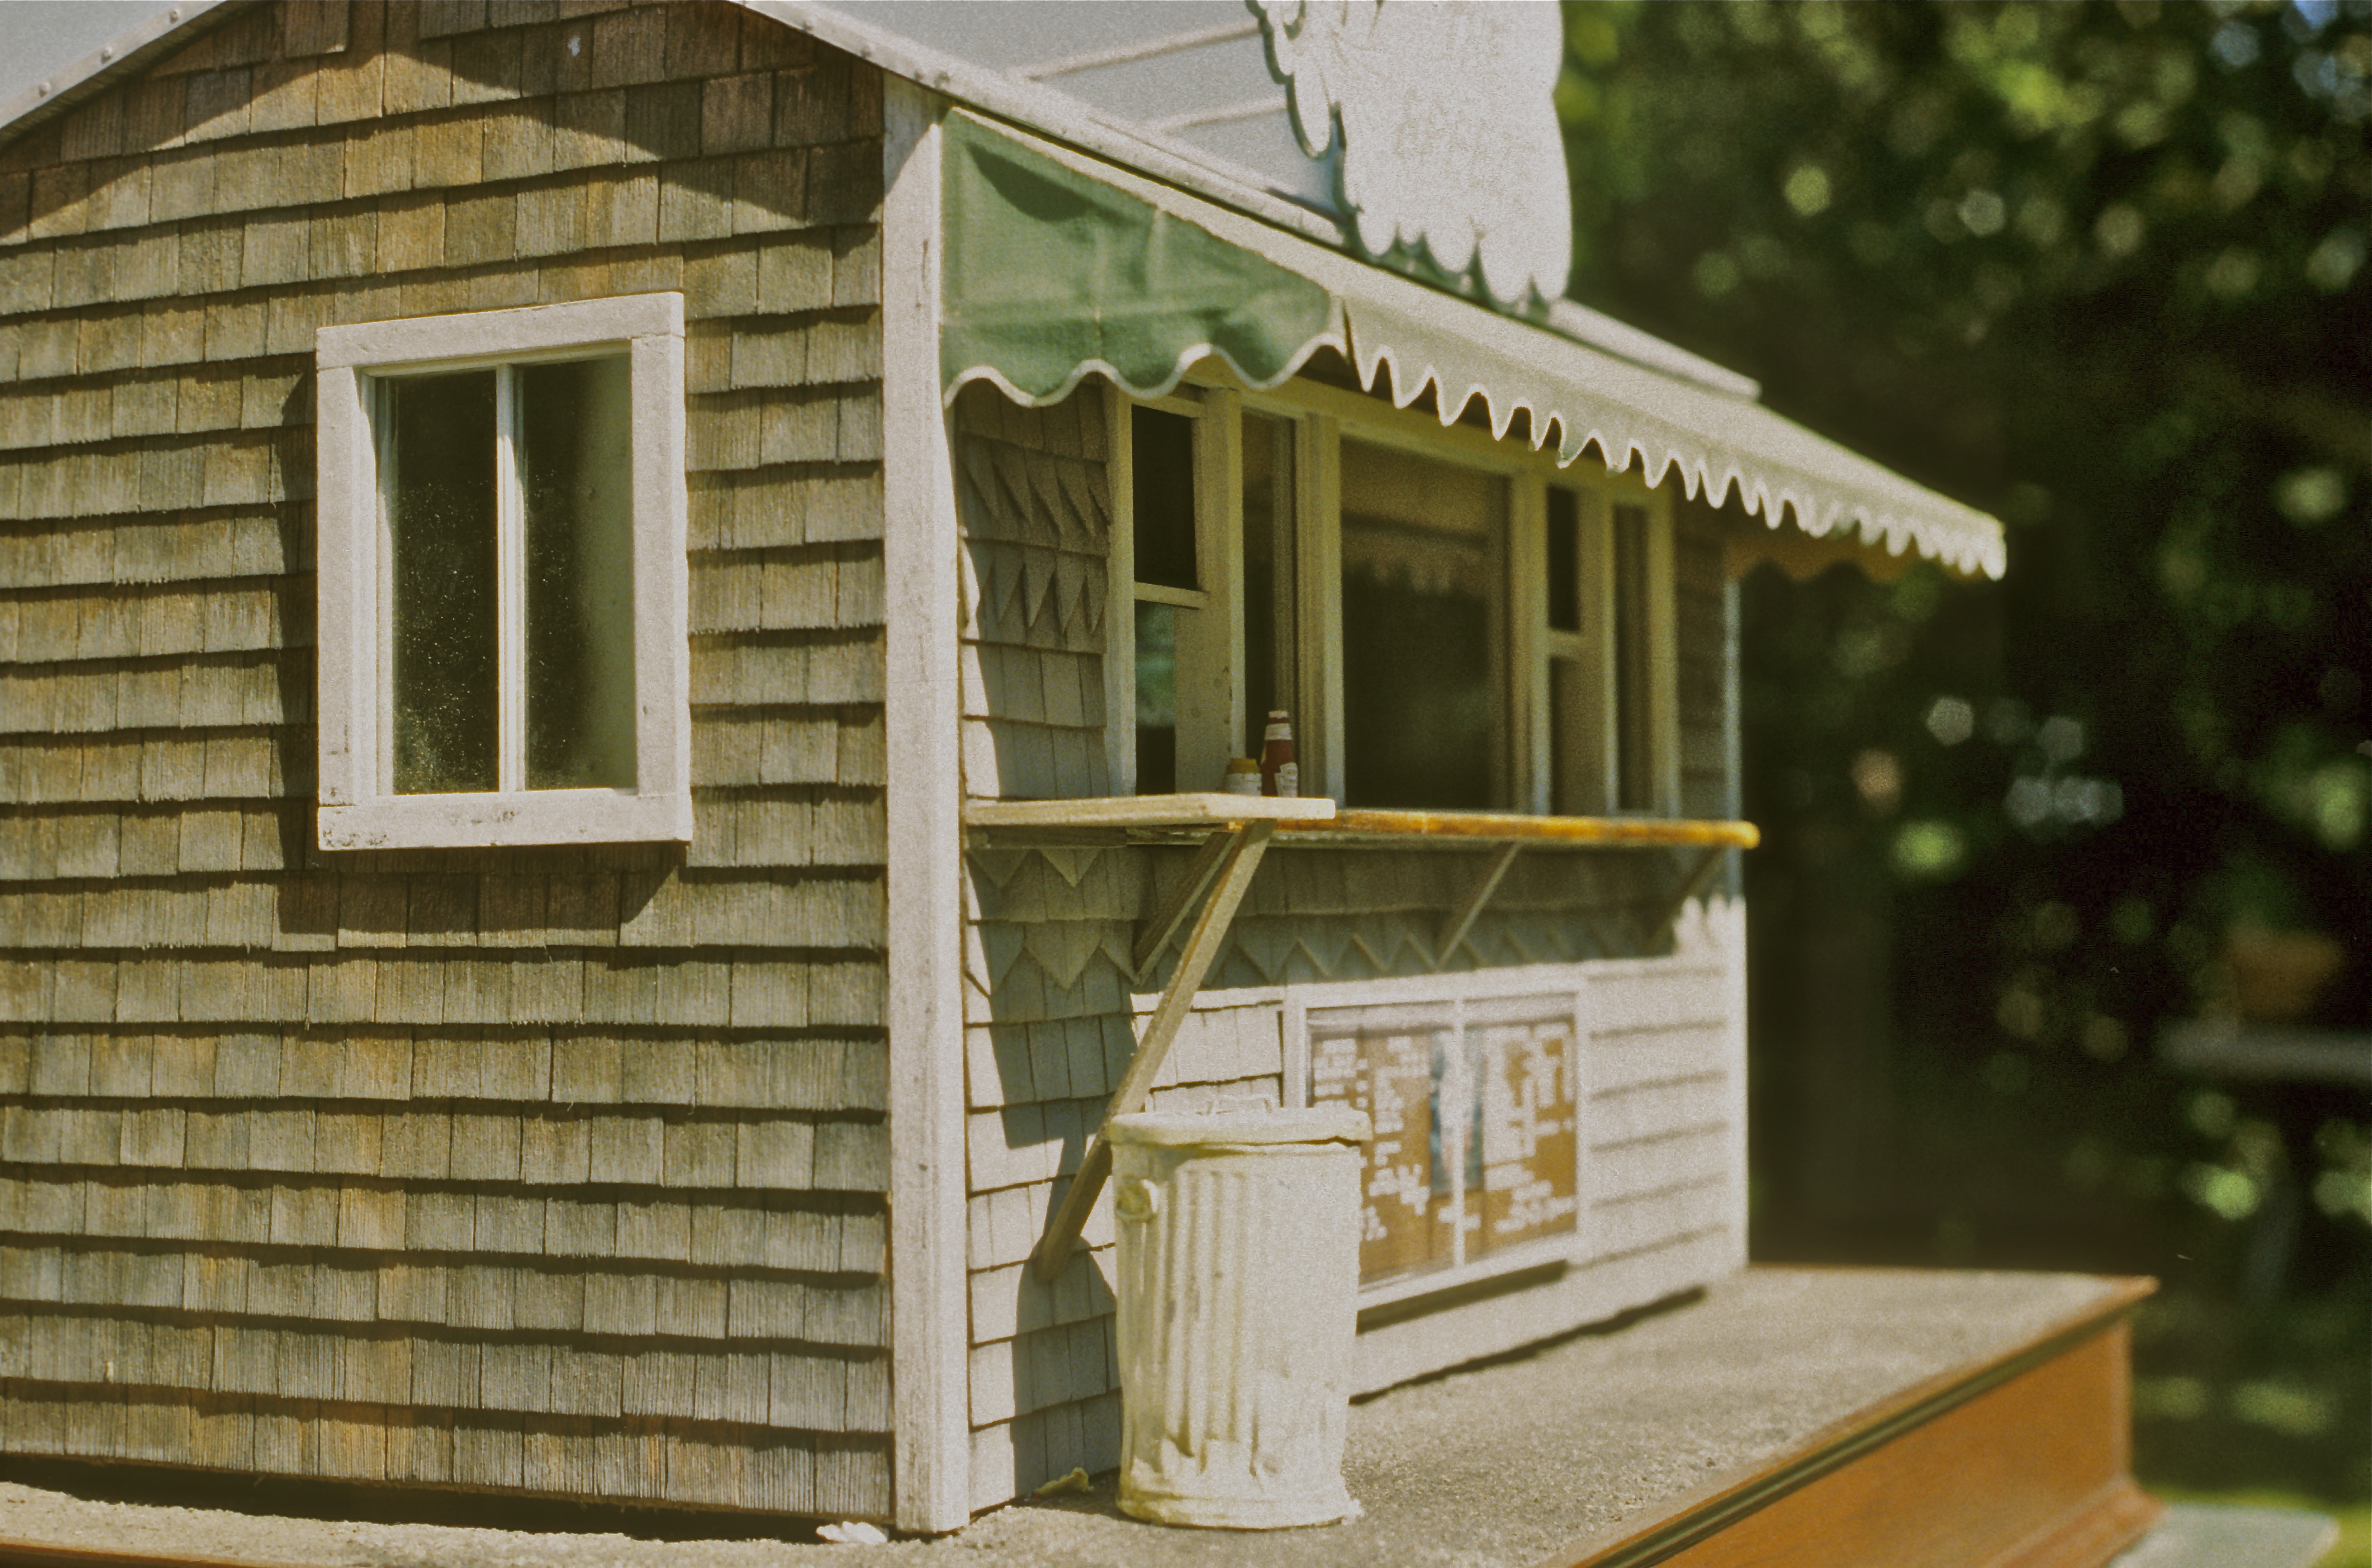
The Breeze miniature awning
In Sunday’s funnies, a man encircled by boisterous children confesses to his wife, “I thought I knew all the answers, but they keep thinking up new questions,” which reminded me of one of our workshop students. “Why doesn’t my work look like yours?” was, I think, how she phrased it—a student comparing her work to Noel’s and mine at the end of the first day. Wow! Now there was a huge question, and I am not a speedy thinker. The woman was relatively new to miniatures, but a good craftsperson with high standards. I think she felt a little cheated. Pointing out that Noel and I had about 50 years more combined experience didn’t do the trick, so I batted the question around for a while. Days later another part of the answer filtered through: the student had come to the right class, because we were teaching something she didn’t already know, and isn’t that the point of learning? It was days more before I uncovered the next pieces of the puzzle.
For the Breeze clam stand project, one big question was how to build a miniature awning. The green canvas awning was one of the Breeze’s most distinctive elements, and something new for us. What’s great about an awning, especially in this day of prefab, plastic-arched eateries, is that it not only adds color and texture to a structure, but it also deepens an intangible and dated comfort factor—that feeling of refuge that comes from fabric overhead, as with tents and beach umbrellas. It reminded me of the cocooning effect of the awnings that once shaded the south-facing windows of my grandmother’s house. The awning question, being one of fabric— my domain—fell to me. This answer too, came in pieces.
Because Noel and I worked as artistic partners, when one of us took on a particular problem it never entirely left the other’s mind. While I grappled with fabric possibilities, Noel asked about the metal framing—two people approaching the same problem from different angles. I felt that once the fabric question was solved, the frame would follow—my reading of form following function. The fabric question was trickier than I thought, and the beginning of the solution came out of Noel’s stash of “saved” items. While in my mind I painted and sized muslin (my all-time fallback treatment, left over from college theater days), Noel nudged me toward his pile of faded green window shades, the kind backed with yellowing muslin-like fabric that he’d salvaged from garage sales and The Salvation Army. (To digress a moment, I Googled old-fashioned window shades to see what they were made of, and, yep, it was called window shade cloth, sometimes Nonpareil shade cloth, but there’s a dearth of information on the subject, not even a Wikipedia entry, so, for those of you aspiring to make a name for yourselves on the Net, here’s your chance).
At first the shades didn’t grab me–the material was too stiff to drape gracefully, and a lot of it was pretty ratty and moldy. Noel reasoned that we wouldn’t have time in class to color muslin, and the shades were already green, and aged. He was right–the new problem became how to soften and shape the shade fabric, until I remembered a theater trick about muslin and sizing.
Once I bought into using the shades, I went on to figuring out the framework. Because of class time limitations, basswood promised to be more practical than metal. It was lighter, would be barely visible under the fabric, and we could paint it to create an illusion of metal. Plus, we knew little about working with metals, and I could envision a whole week’s workshop lost to soldering and fabricating awning frames.
 For the main framework I went with basswood stock we had on hand–two strips of 1/16” X 3/16” (for the top horizontals and vertical braces), 1 strip of 3/32” X 3/32” (bottom back and front horizontals), and one strip of 3/32” quarter round added to the front bottom horizontal—providing extra rigidity and a rounded “drop line” for the fabric. For the 60/30 degree triangular end brackets, I cut six strips to length from 3/32” X 3/32” stock, angling the ends to match the slant of the roof. Before gluing them together, I aged the strips with Bug Juice to tone down the newness of the wood. Once the Juice was dry, I cut and assembled the frame, using a paper pattern I had made to fit the building, and glued it together (liberally) with our old standby, Elmer’s white glue.
If you’re going to try this yourself, before cutting wood, make a paper or cardboard model, adjusting until you find good proportions and correct angles; before gluing, cover your work area with wax paper to avoid gluing the frame to the table; build the end brackets first, squaring the back of each bracket with a squaring jig, or small engineer’s square (I particularly like the handy, 3” steel machinist’s square available through Micro Mark); once the brackets are dry, re-touch the joints with glue, and allow to dry thoroughly before assembling the rest of the frame. Build the main frame between the brackets. Once assembled, trim and sand the leading edge of the brackets flush with the lower, rounded horizontal framing, then paint gray (or with aluminum craft paint) to create the illusion of a metal frame.
When the frame is dry, you can cut the front fabric covering to fit. Starting with the off–the-roll stiff shade fabric, I cut it into 3 ½” wide strips, across the width of the shade. This width covered the framework, and then some, and the drop allowed for a scalloped edge, as in the original. Once you have cut your strips, set them aside.

Awning scallop patern
Trace the scalloped edge (see diagram, or design your own) onto plain white paper. I did it diagonally on the paper, to get the longest possible strip. Then, carefully cut around the curves to make a smooth, evenly-waved line. With a T-Square and Exacto knife, trim off the excess paper to make a scalloped strip approx. 7/16” deep. Next, lay the frame on the back of the awning fabric strip, and mark the fabric at 3/8” wider (longer, not deeper) than the frame. Using the T-square and Exacto, trim the fabric at that mark at a 90 degree angle to the top or bottom edge of the strip. Now place the frame back on the fabric, and draw a “drop line,” indicating the bottom horizontal edge of the frame. This is where the top (the straight edge) of your scalloped paper strip will go. Using transparent Removable Magic Tape, tape the scalloped paper strip to the lower edge of the back of the fabric, along the line, and cut out the scallops. Again, keep your curves smooth. When done, remove the paper, and save the excess scalloped edge for end pieces.
Before gluing fabric to frame, paint a narrow “white” border along the lower edge of the scallops. Yes, paint. A fabric or thread border will look too bulky, and break the illusion of reality. In this case it is better to simulate cording, rather than try to replicate it in miniature. For The Breeze, we mixed an old-ivory colored paint, using flat white latex warmed with a little ochre tube acrylic. Stark white looked cold and unconvincing. The ochre adds a credible look of age to match the weathering of the window shade fabric.
Now, here’s the trick to softening the shade fabric: once the border is dry, lay the fabric face-down on the worktable. Then, using a foam brush and water, dampen, don’t soak, the back of the fabric only, leaving it wet for a few minutes until it becomes soft and pliable. Keep water off the green side, or it will disintegrate. Dab the backing with paper towels if it seems too wet. Next, to keep it from curling, flatten the fabric on a table with weights for a few minutes (still wet) before gluing.
Once the fabric becomes pliable and will lie flat, fold the scalloped edge over a T-Square to finger press a crease along the “drop line” you drew earlier. This is where the fabric will fold over the lower part of the frame. Then, run a smooth, solid bead of glue (Elmer’s white) along all the facing surfaces of the frame (not the fabric), smearing the glue with your fingers so no excess will leak out around the edges, then lay the fabric on the frame, beginning at the top edge. Gently press the fabric with your fingers to ease in a few soft puckers (not ridges) and sags, smoothing it down along the rest of the frame, and tugging slightly from the bottom to give the puckers a vertical direction.
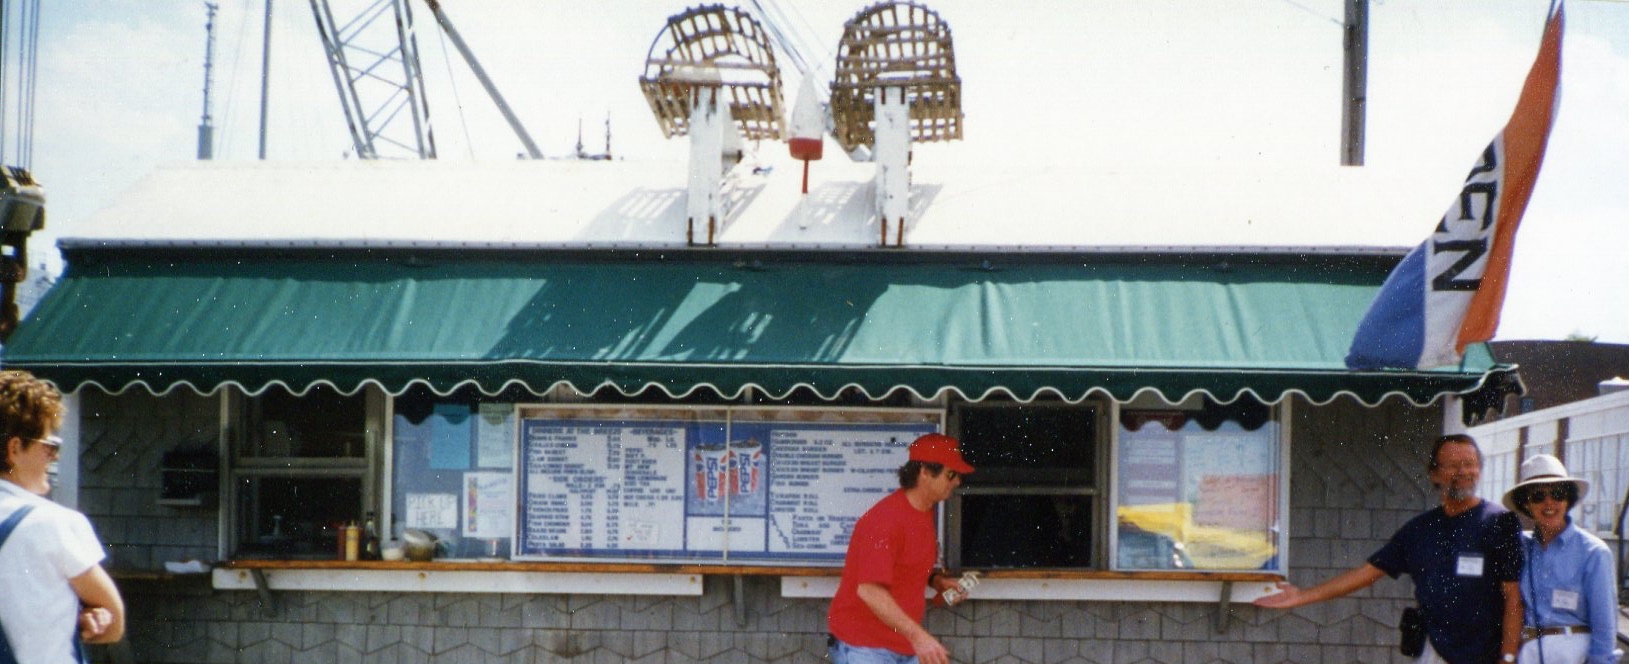
Draping on the full-sized Breeze
Finger-press out any hard lines or pleats. Don’t try to work all of the excess fabric into the puckers, or the awning will look baggy and badly made. The slow drying time of the Elmer’s allows plenty of time to work the fabric onto the frame. Allow the excess to overhang one end until the glue dries, then trim to fit the edge of the frame.
With the fabric glued in place, turn over the whole frame—so the fabric is lying flat, face-down on the table—and weigh down the frame for drying. Hold down all edges, weighting it down with everything you’ve got: miter boxes, squaring jigs, stones, snack-sized Ziplocks filled with sand, etc. Use a hairdryer to speed drying, then, while the glue is still slightly tacky, lift off the weights and turn over the whole thing to see that everything’s glued where it should be. Adjust if necessary, turn the awning back over, and weigh it down until dry, preferably overnight.

Awning end detail
Awning end pieces: Using your scalloped paper strips, make a pattern piece to fit the end bracket by first tracing a length of scallops onto another piece of plain white paper. Then line up the scallops with those at the corners of the awning, so you have an unbroken scalloped pattern from front to sides. Standing the awning on end, and using the end bracket for a pattern, trace and cut a sample triangular end-piece 1/8” larger than the frame bracket (to allow for draping) from the paper. Hold it in place on the awning frame and trace a “drop line” along the base of the triangle, lining up the length of the scallops with the front. Adjust as necessary, making certain you have a good, close fit at all the seams, and have allowed a little room for easing, especially at the corners. Once you have a paper pattern that fits, write “green” on the side of the paper that represents the green side of the fabric, trace the pattern onto the fabric (making sure the green side matches that on the paper, and that the fabric fibers run vertical to the base of the triangle). Cut out the fabric end-piece, and paint on the scalloped edge. Dampen the back of the piece to soften as before, and glue in place. Repeat for the other end of the frame. You can further customize your awning with such details as additional bracing, and tie-downs made from fishing line or old kite string.
As for answers to that student’s question—“Why doesn’t my work look like yours?,” more came to me, as it often does, in bed, late at night. For the student, I remembered what Robert M. Pirsig said about creativity in Zen and the Art of Motorcycle Maintenance: “You want to paint a perfect painting? It’s easy. Just make yourself perfect, then paint naturally.” For the teachers, there’s an old hieroglyph: “No limit may be set to art, neither is there any craftsman who is fully master of his craft.” And for all of us, from a friend, poet, and teacher, “There are no answers, only choices.”
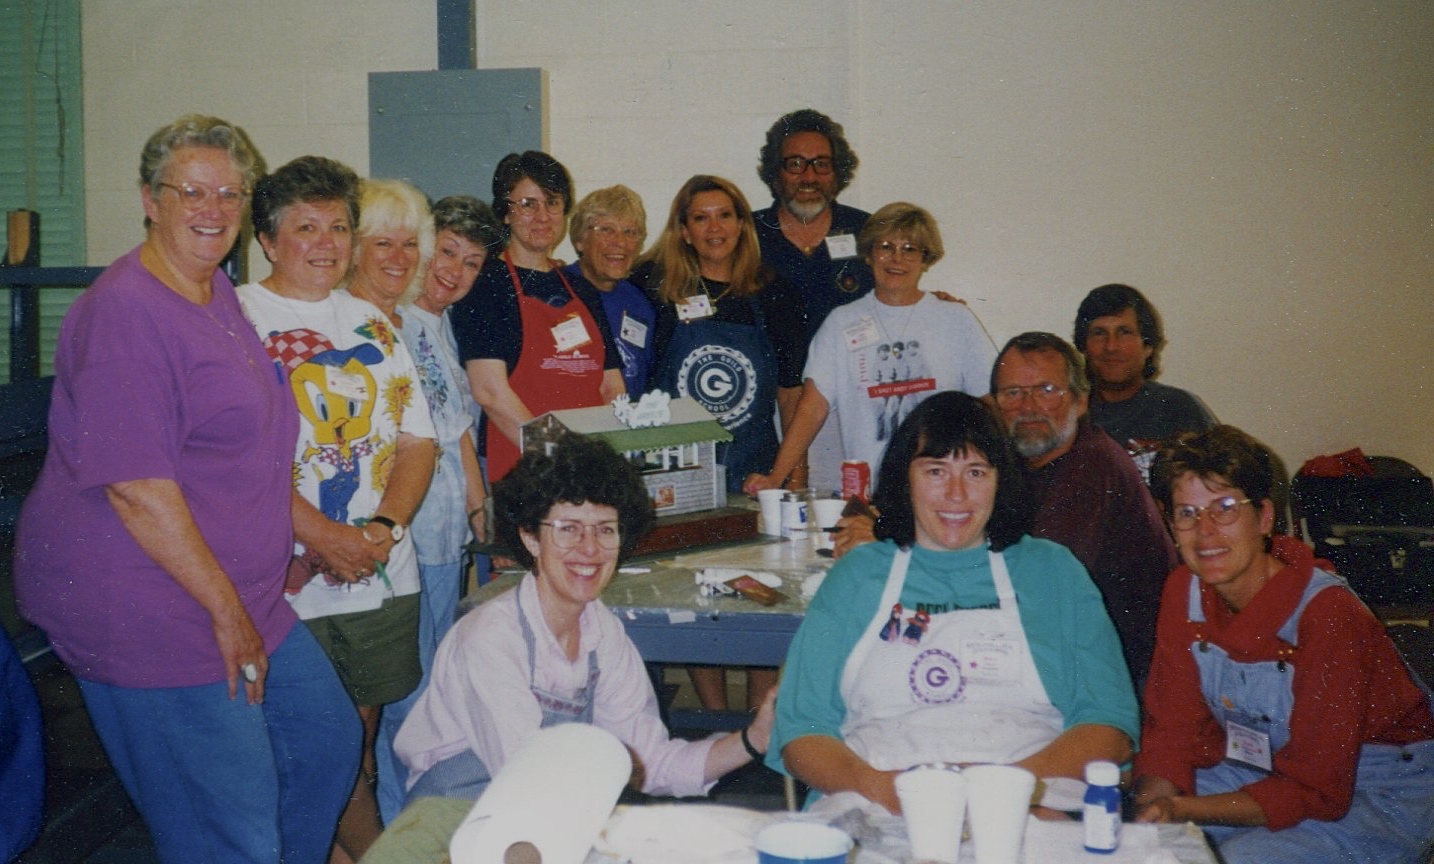
Guild School Breeze class photo 1996 (I think)..

Love this combination of step-by-step and concept. Not sure which is more important (if there needs to be) but I sure appreciate your articulation, and the encouragement to see for our selves.
Roller blind fabric history. Sorry but it only took less than a minute to come up with it. I tossed the word nonpariel out of the search because all it means is that something is superlative…without parallel. Its not a real name, its a marketing term. Sometimes you just have to know what words to eliminate before you begin searching and stick to the key defining characteristics of a product in this case I used “historic fabric used for green window shades” . I had to add historic as the first keyword for a time frame limiter to get rid of the modern stuff. It was a two step hop to get to a history of the subject, the first step told me the true commonly used name for the product…Holland Shades. That keyword phrase turned up this link to a history on the subject.
http://retrorenovation.com/2015/04/27/holland-shades/
Thank you, I stand corrected, and admit to a cursory search. I did find out that “Nonpareil” was a brand name, but failed to hop any further.