

The Italian Ruin, with chair by Catherine Soubzmaigne
Noel and I spent our month in Italy combing side streets for out-of-the-way monuments. On foot we hoped to acquire a sense of that country’s architectural flavorings. In Rome’s alleys we ferreted out lesser hunks of ancient ruins, in Venice the cloistered courtyards and canal gardens pocketed off the stony, maze-like footpaths they call streets, and in Florence we spent a warm Sunday morning exploring a section of the ancient and fragmenting city wall that skirts the Oltr’arno district.
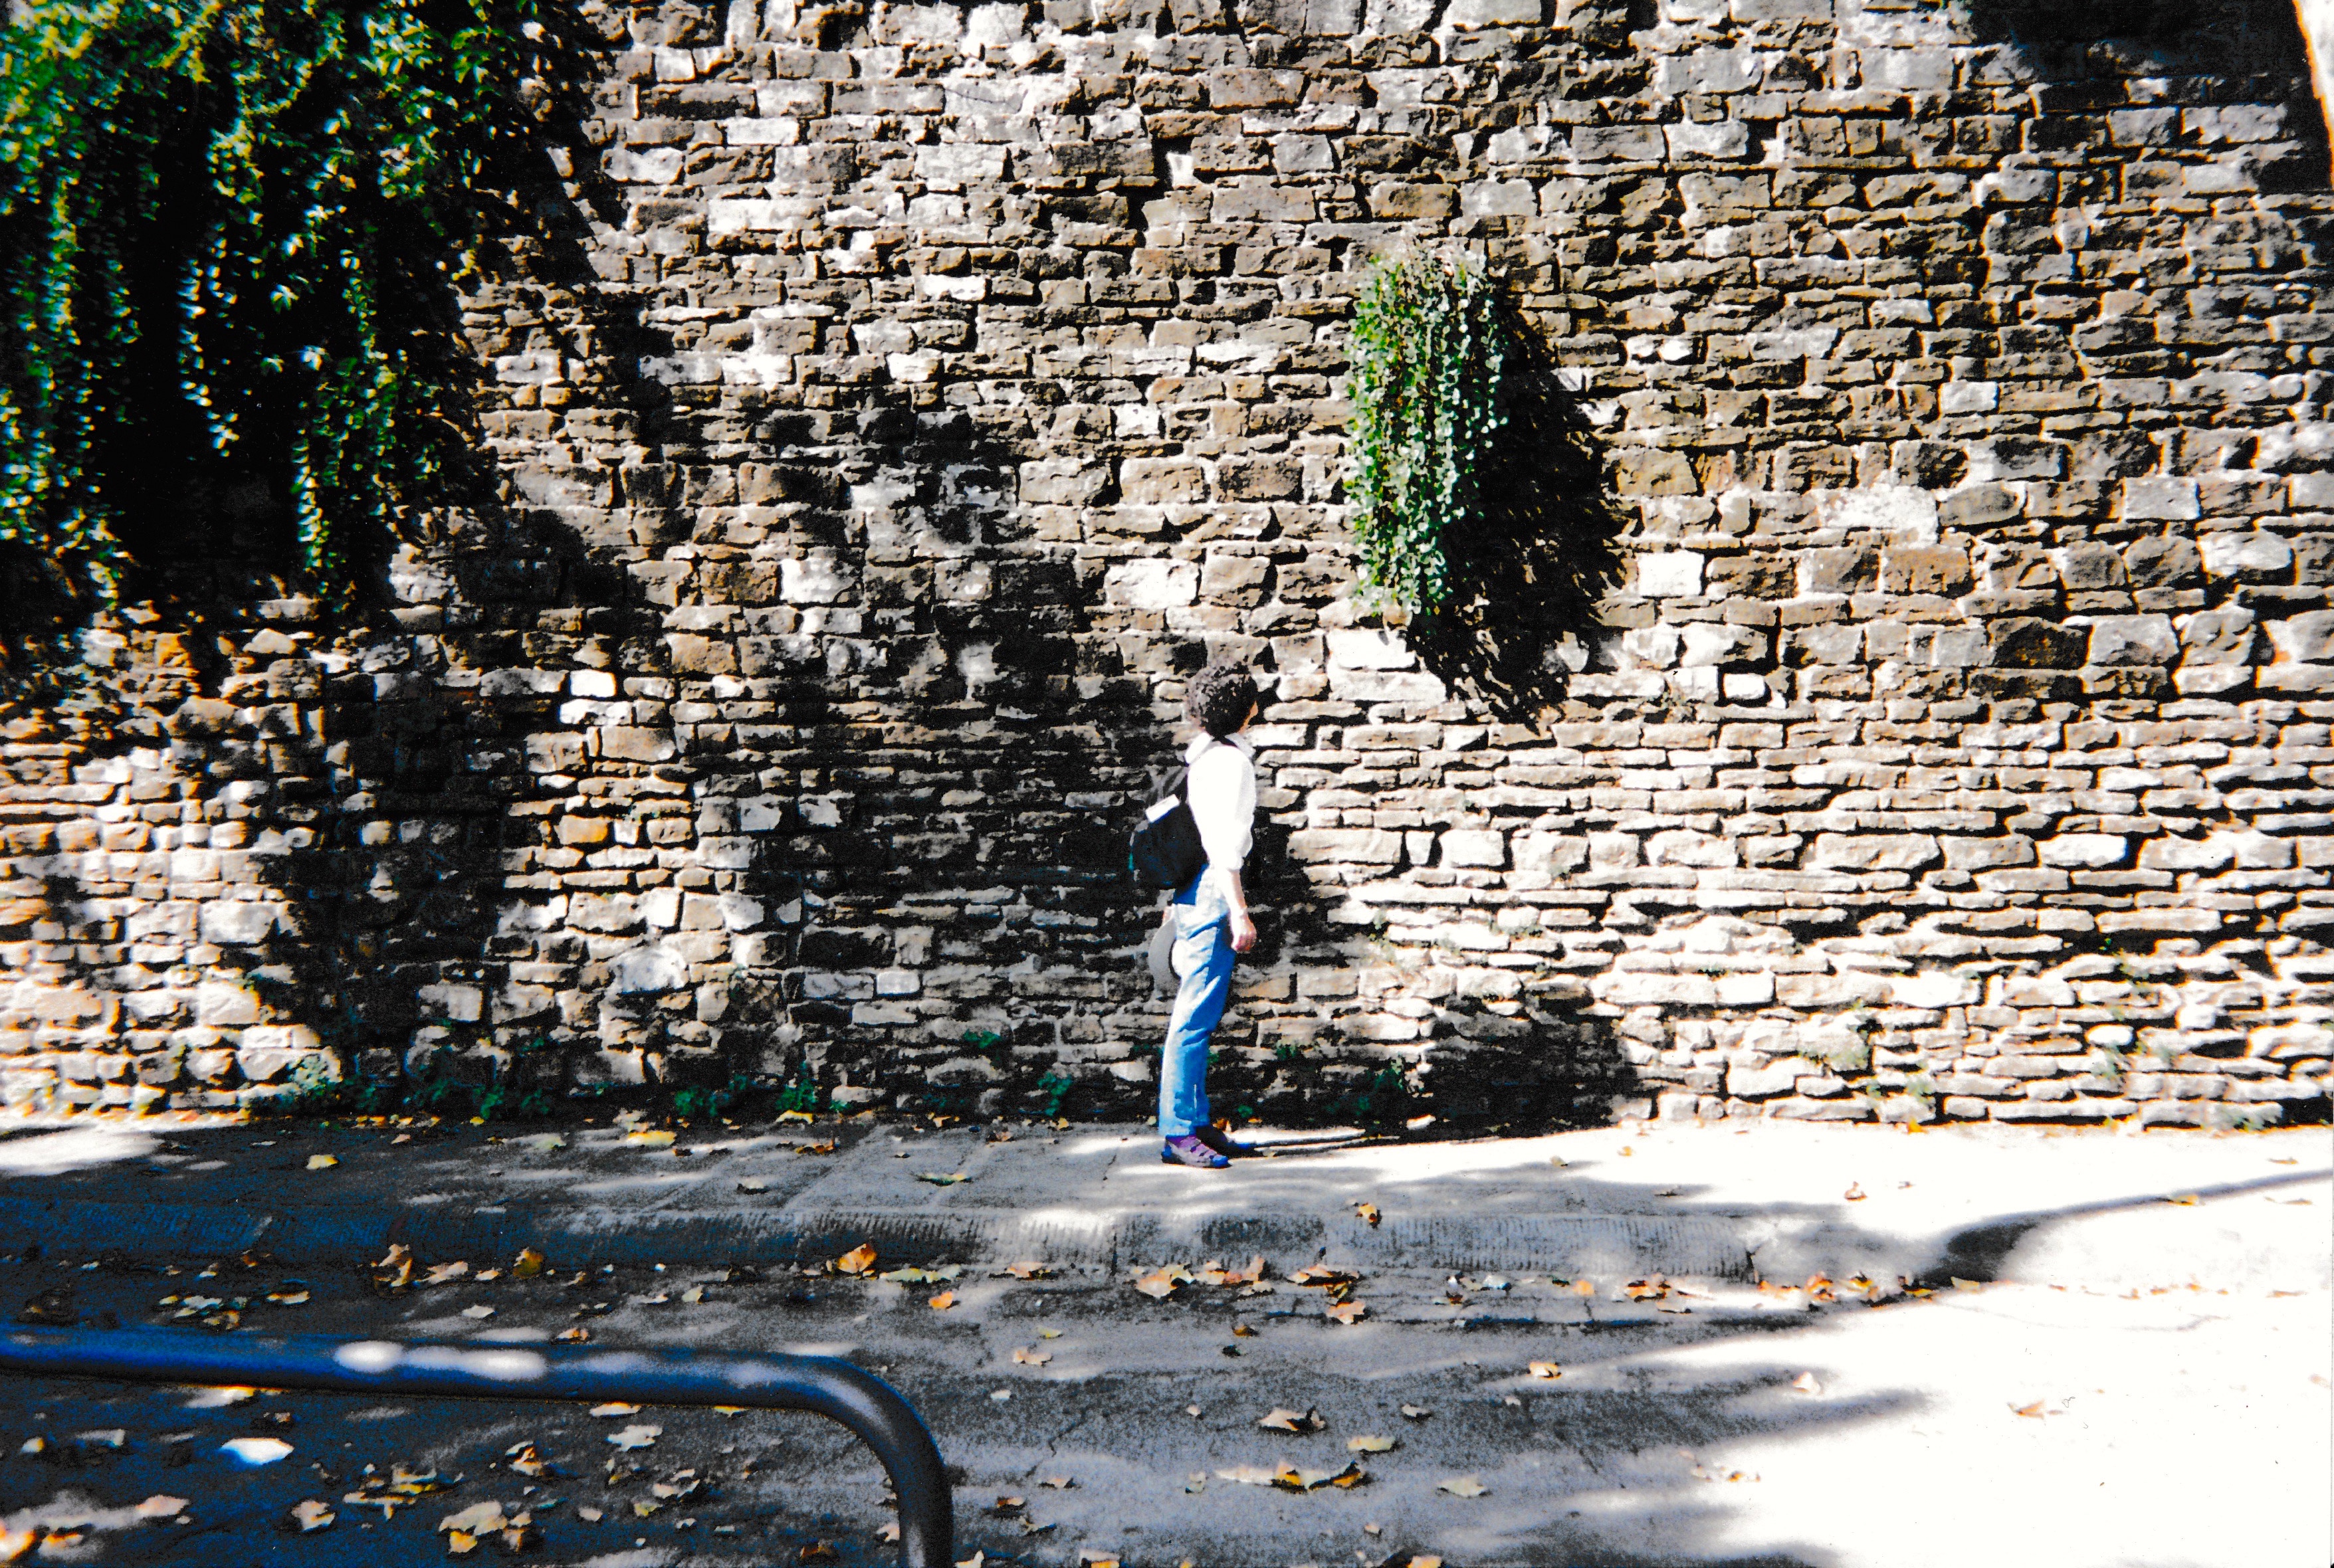
City gate and wall in Florence
Just beyond the city gates we picked up the scent of roasting chicken and rosemary which we followed to a line of people leading to the neighborhood Rosticceria (a place we could never find again for a return engagement, but I digress…) where we bought a whole spitted chicken and crispy flatbread (aka carta di musica) intended for dinner later, but consumed instead during the rest of our walk. That would sum up our trip—following our noses, fired by our combined appetites for structural eccentricities and casual food. What’s so great about foreign countries is, of course, that they’re different from home. And older. They give one a chance to see with new eyes (and taste sensations one will never forget, nor find again). If I were to get started on the music, we’d never get back to the story. But it’s all part of the story.
We were looking for something old to reproduce in a classroom setting—the lesser-known marvels of Italy. What caught our eyes—beyond the dazzling museums and cathedrals of Carrera marble and Breccia limestones, and around the corner from the fortress-like Renaissance palazzi—were the intimate, unassuming Medieval structures of stone, plaster, and brick the color of the surrounding hillsides. What we warmed to were the doorways framed in sandstone (two kinds: pietra forte and pietra serena in earthy grays and ochres), walls of rudimentary bricks fired from fine, terra cotta clays, and the motley facades of rose-to-ochre plaster on the region’s less imposing homes and churches.

Florence: the City Wall

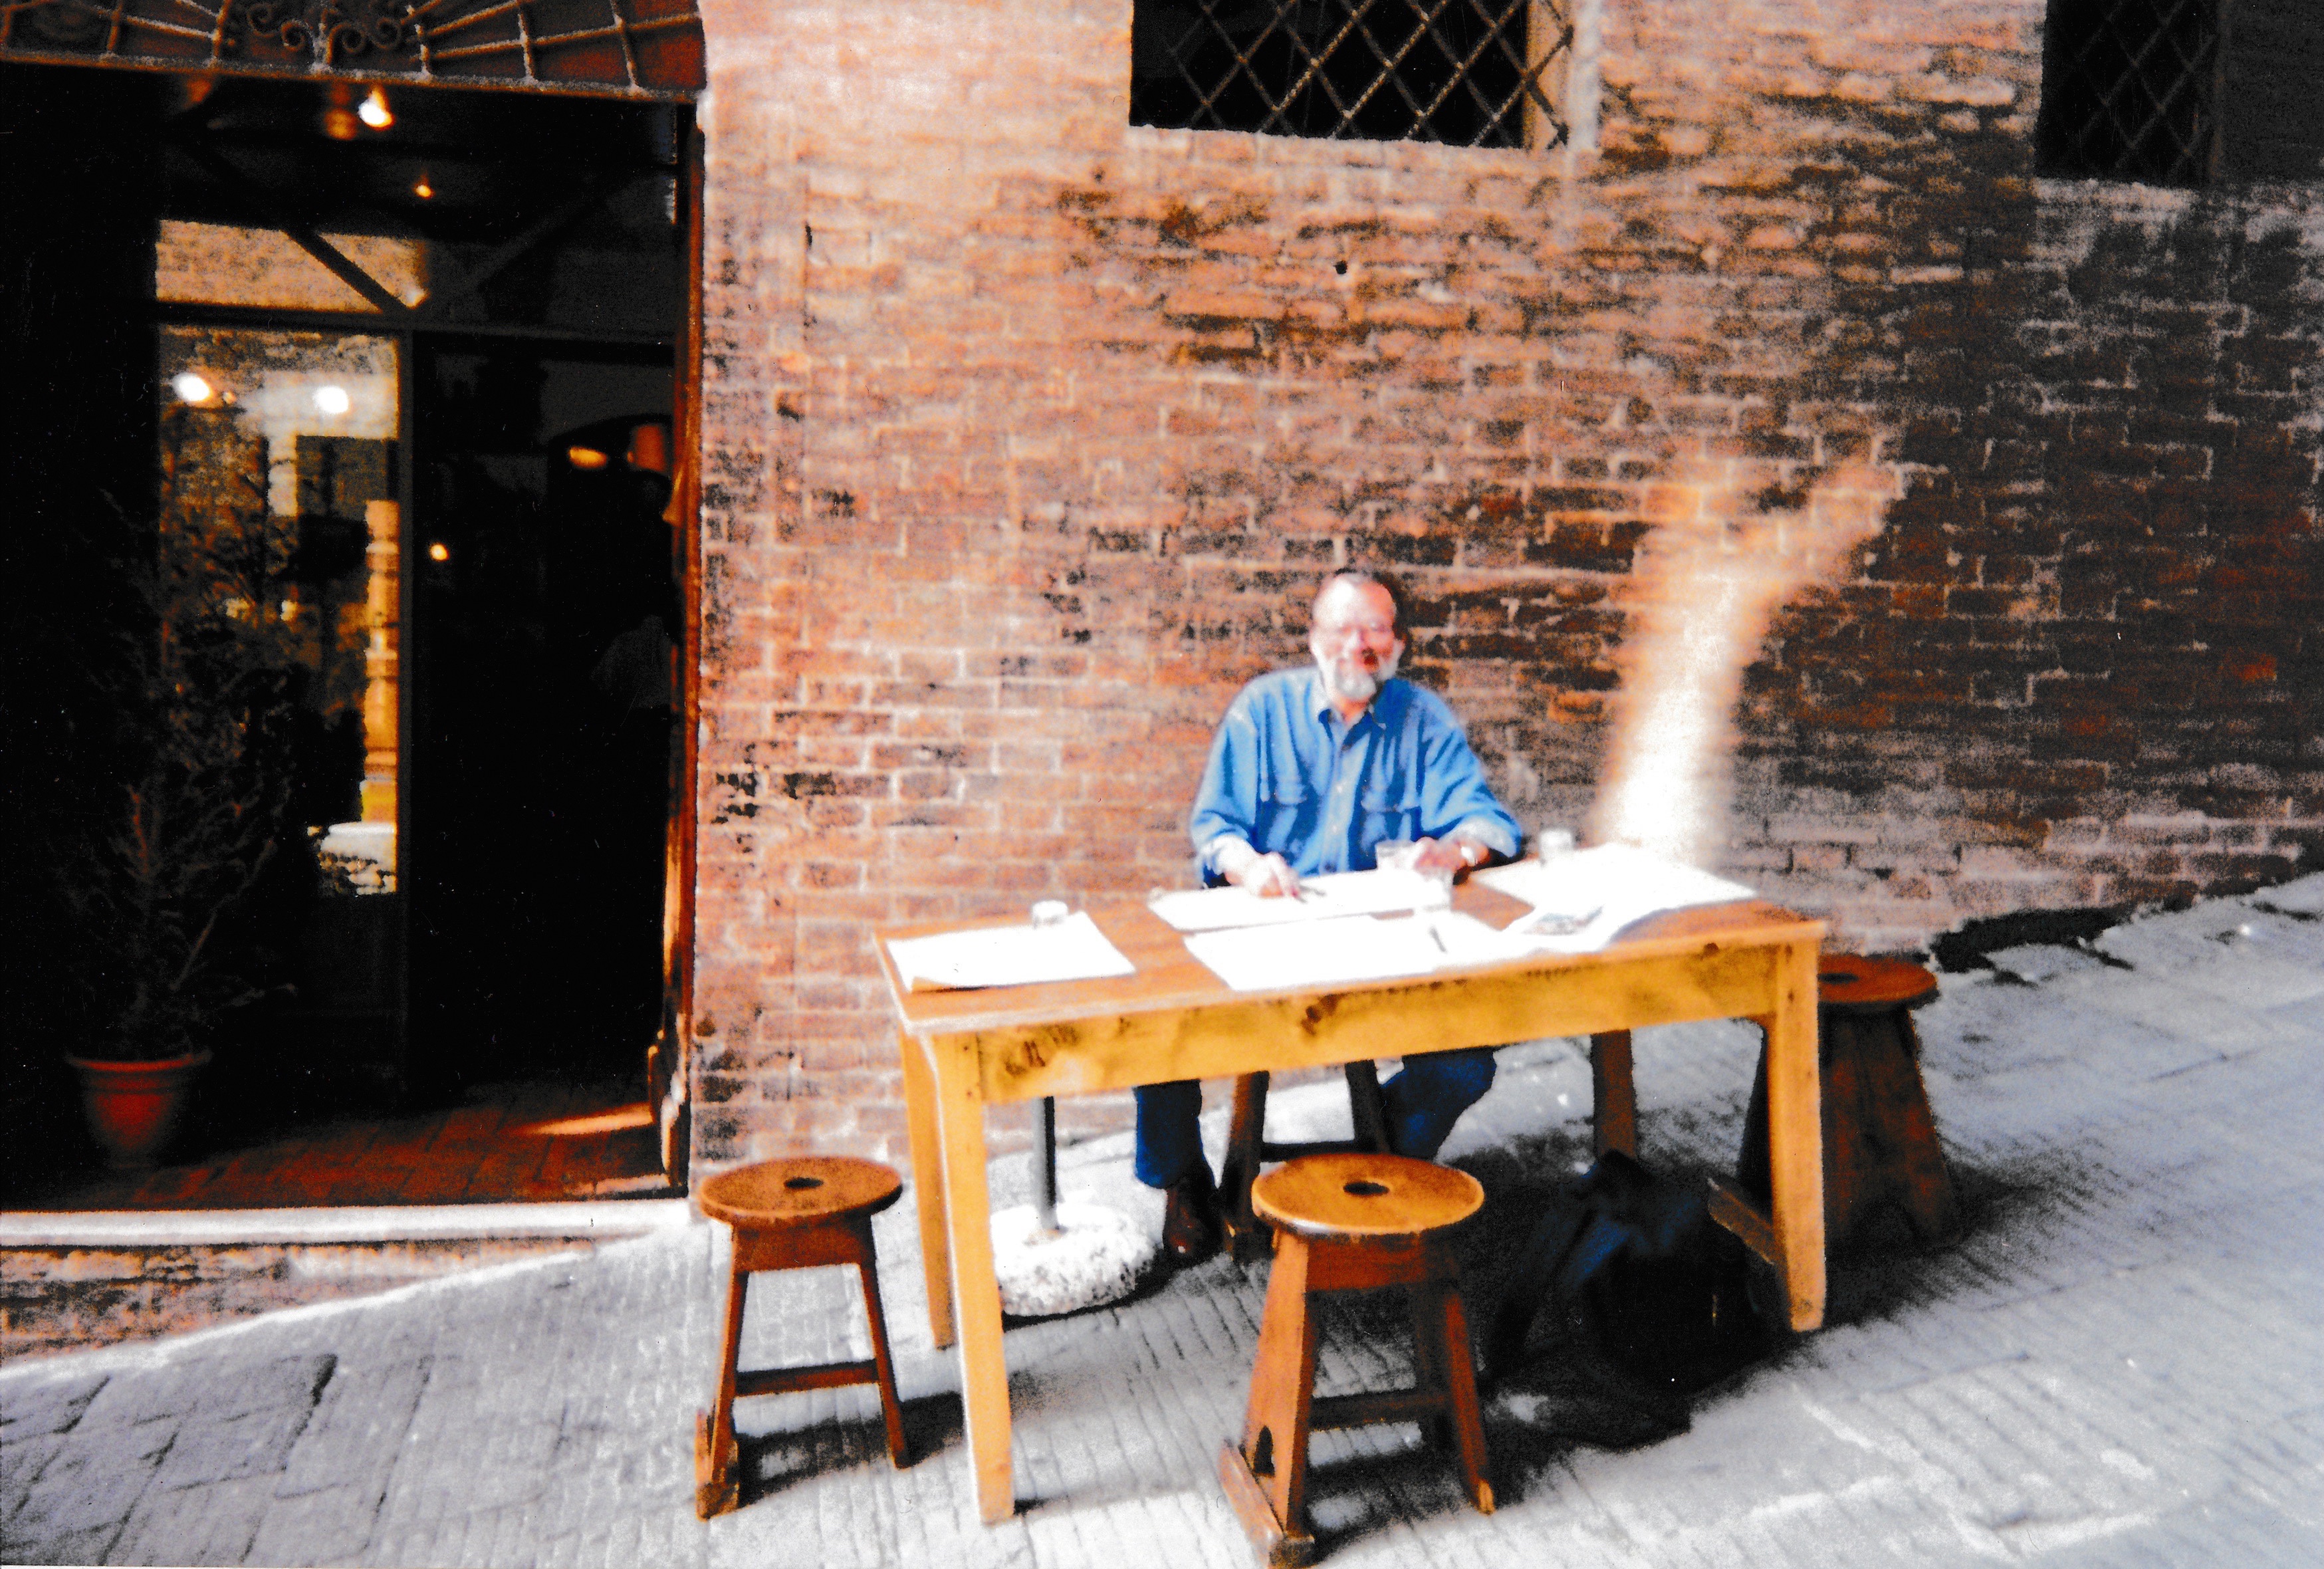
On the way to the Rosticceria and pollo arrosto.

Detail of Florence’s city wall
Back home, our task was to condense this month-long visual feast into the bite-sized ruin we promised to teach at the Guild School in a two-day techniques class called Added Attractions. Two days was easy, in theory, not so much in reality, but a great goal for our trip. Months later I would say to Noel, “Just draw what we liked.” While I was working on our week-long class, it was up to him, as chief designer, to leaf through the stacks of trip photos: close-ups of paving stones, weeds dripping from ancient drain pipes, lichen-covered roof tiles, and decaying doorways that led we knew not where. He’s the one who had to revitalize the clouded travel memories and come up with a plausible design–how to introduce people simply to our aged brick, plaster and stone techniques.

Early sketch
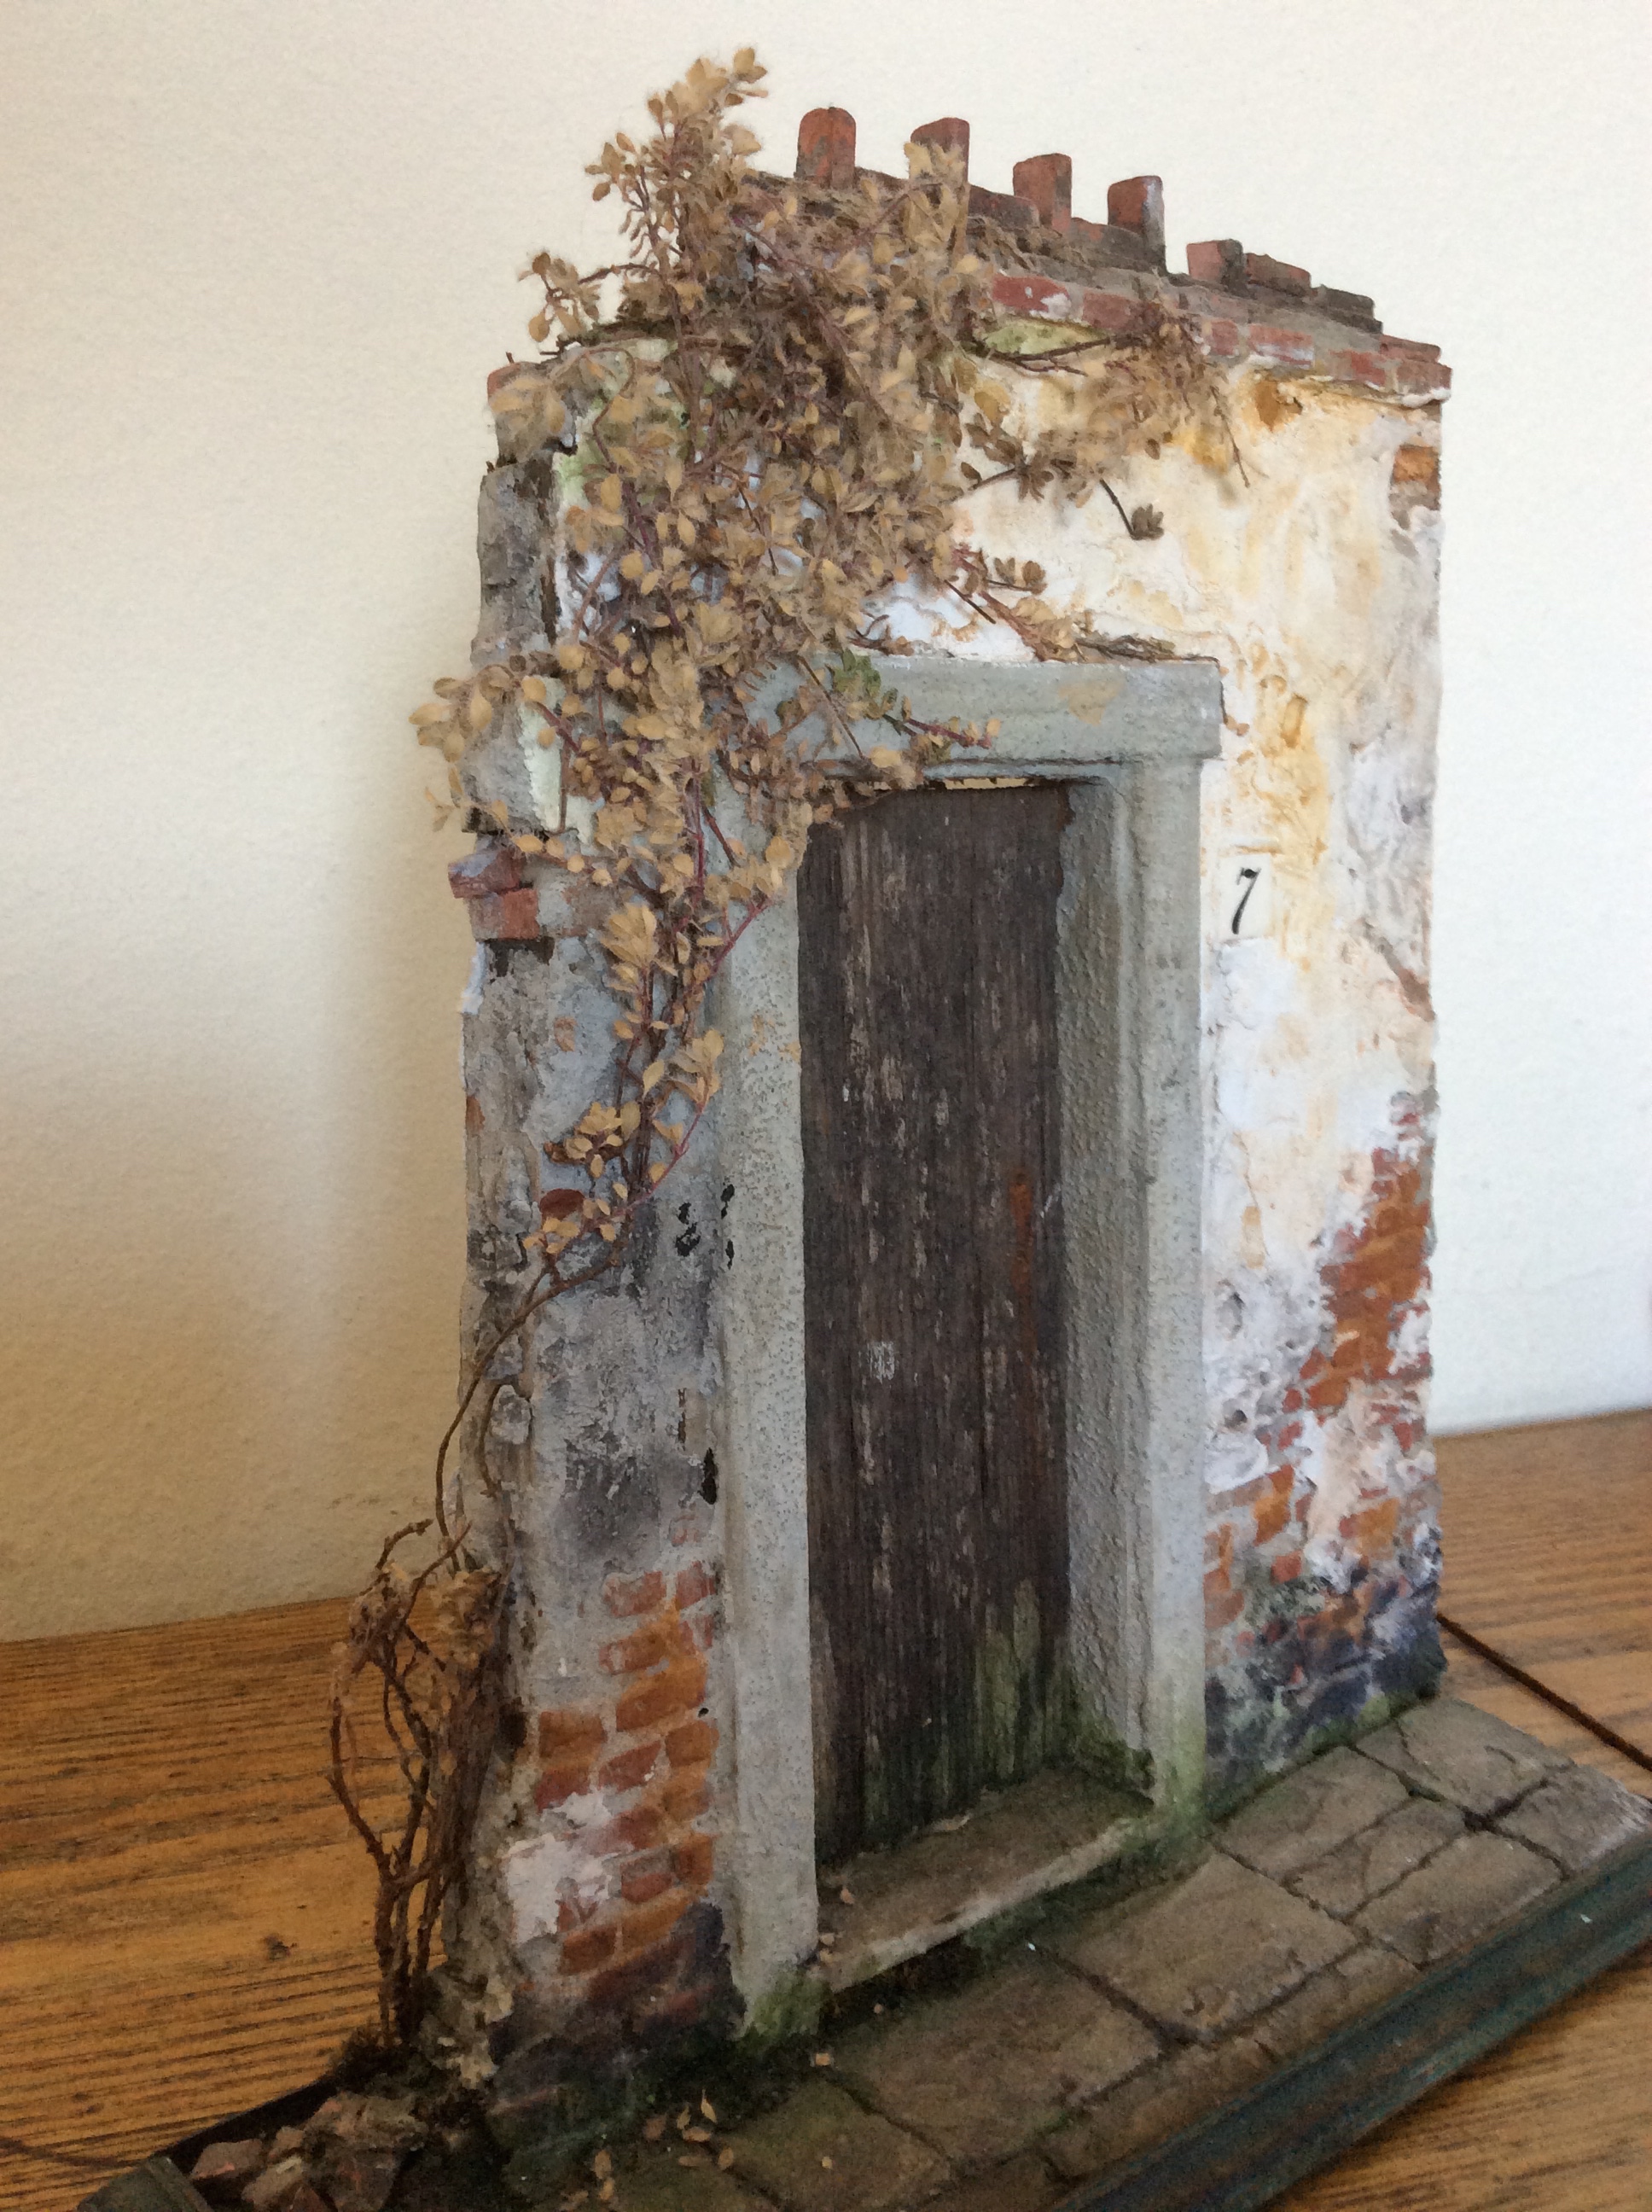
After a series of sketches, he came up with the two-sided piece we called Garden Door #7, Italy–aka The Ruin
Starting with a jig saw and 5/8” ply, he cut a ragged outline to suggest the shape of a fragment of a whole garden wall. To build up a door frame and sill, he added pieces of stripwood. The base of ¼” ply is a frame for the surrounding landscape, in this case the stone-paved street on which the wall was situated.
Lunch on a slant in Sienna, where we had to hold onto our plates and glasses. Ghost unknown.
To vary the levels of street-side terrain, Noel made a thick paste of sawdust and Elmer’s glue, to which he added a little water, then grayed with a little Bug Juice. Because a hillside is more engaging than a flat street, on one end of the base he molded a slant with the sawdust and glue mixture, spread with a 1” putty knife. He also made a mound in back by the door, into which he countersunk pieces of stone, brick, and a sprinkling of dirt. For this project we used both dimensional brick (the plaster kind, made more or less to scale) plus our own flat vinyl flooring brick. The stone and sandy dirt we dug out of the yard. To make a finer-grained dirt I baked it in the oven for ½ hour at 350 degrees (to dry it as well as kill the critters), then sifted it through window screening.
Paving stones and aging detail
One consequence of air pollution and the flooding endemic to Northern Italy is the deterioration of brick and plaster walls, which makes for picturesque if precarious architecture. To the benefit of the visitor, hungry for the Old World, the Italians have learned to live with it.
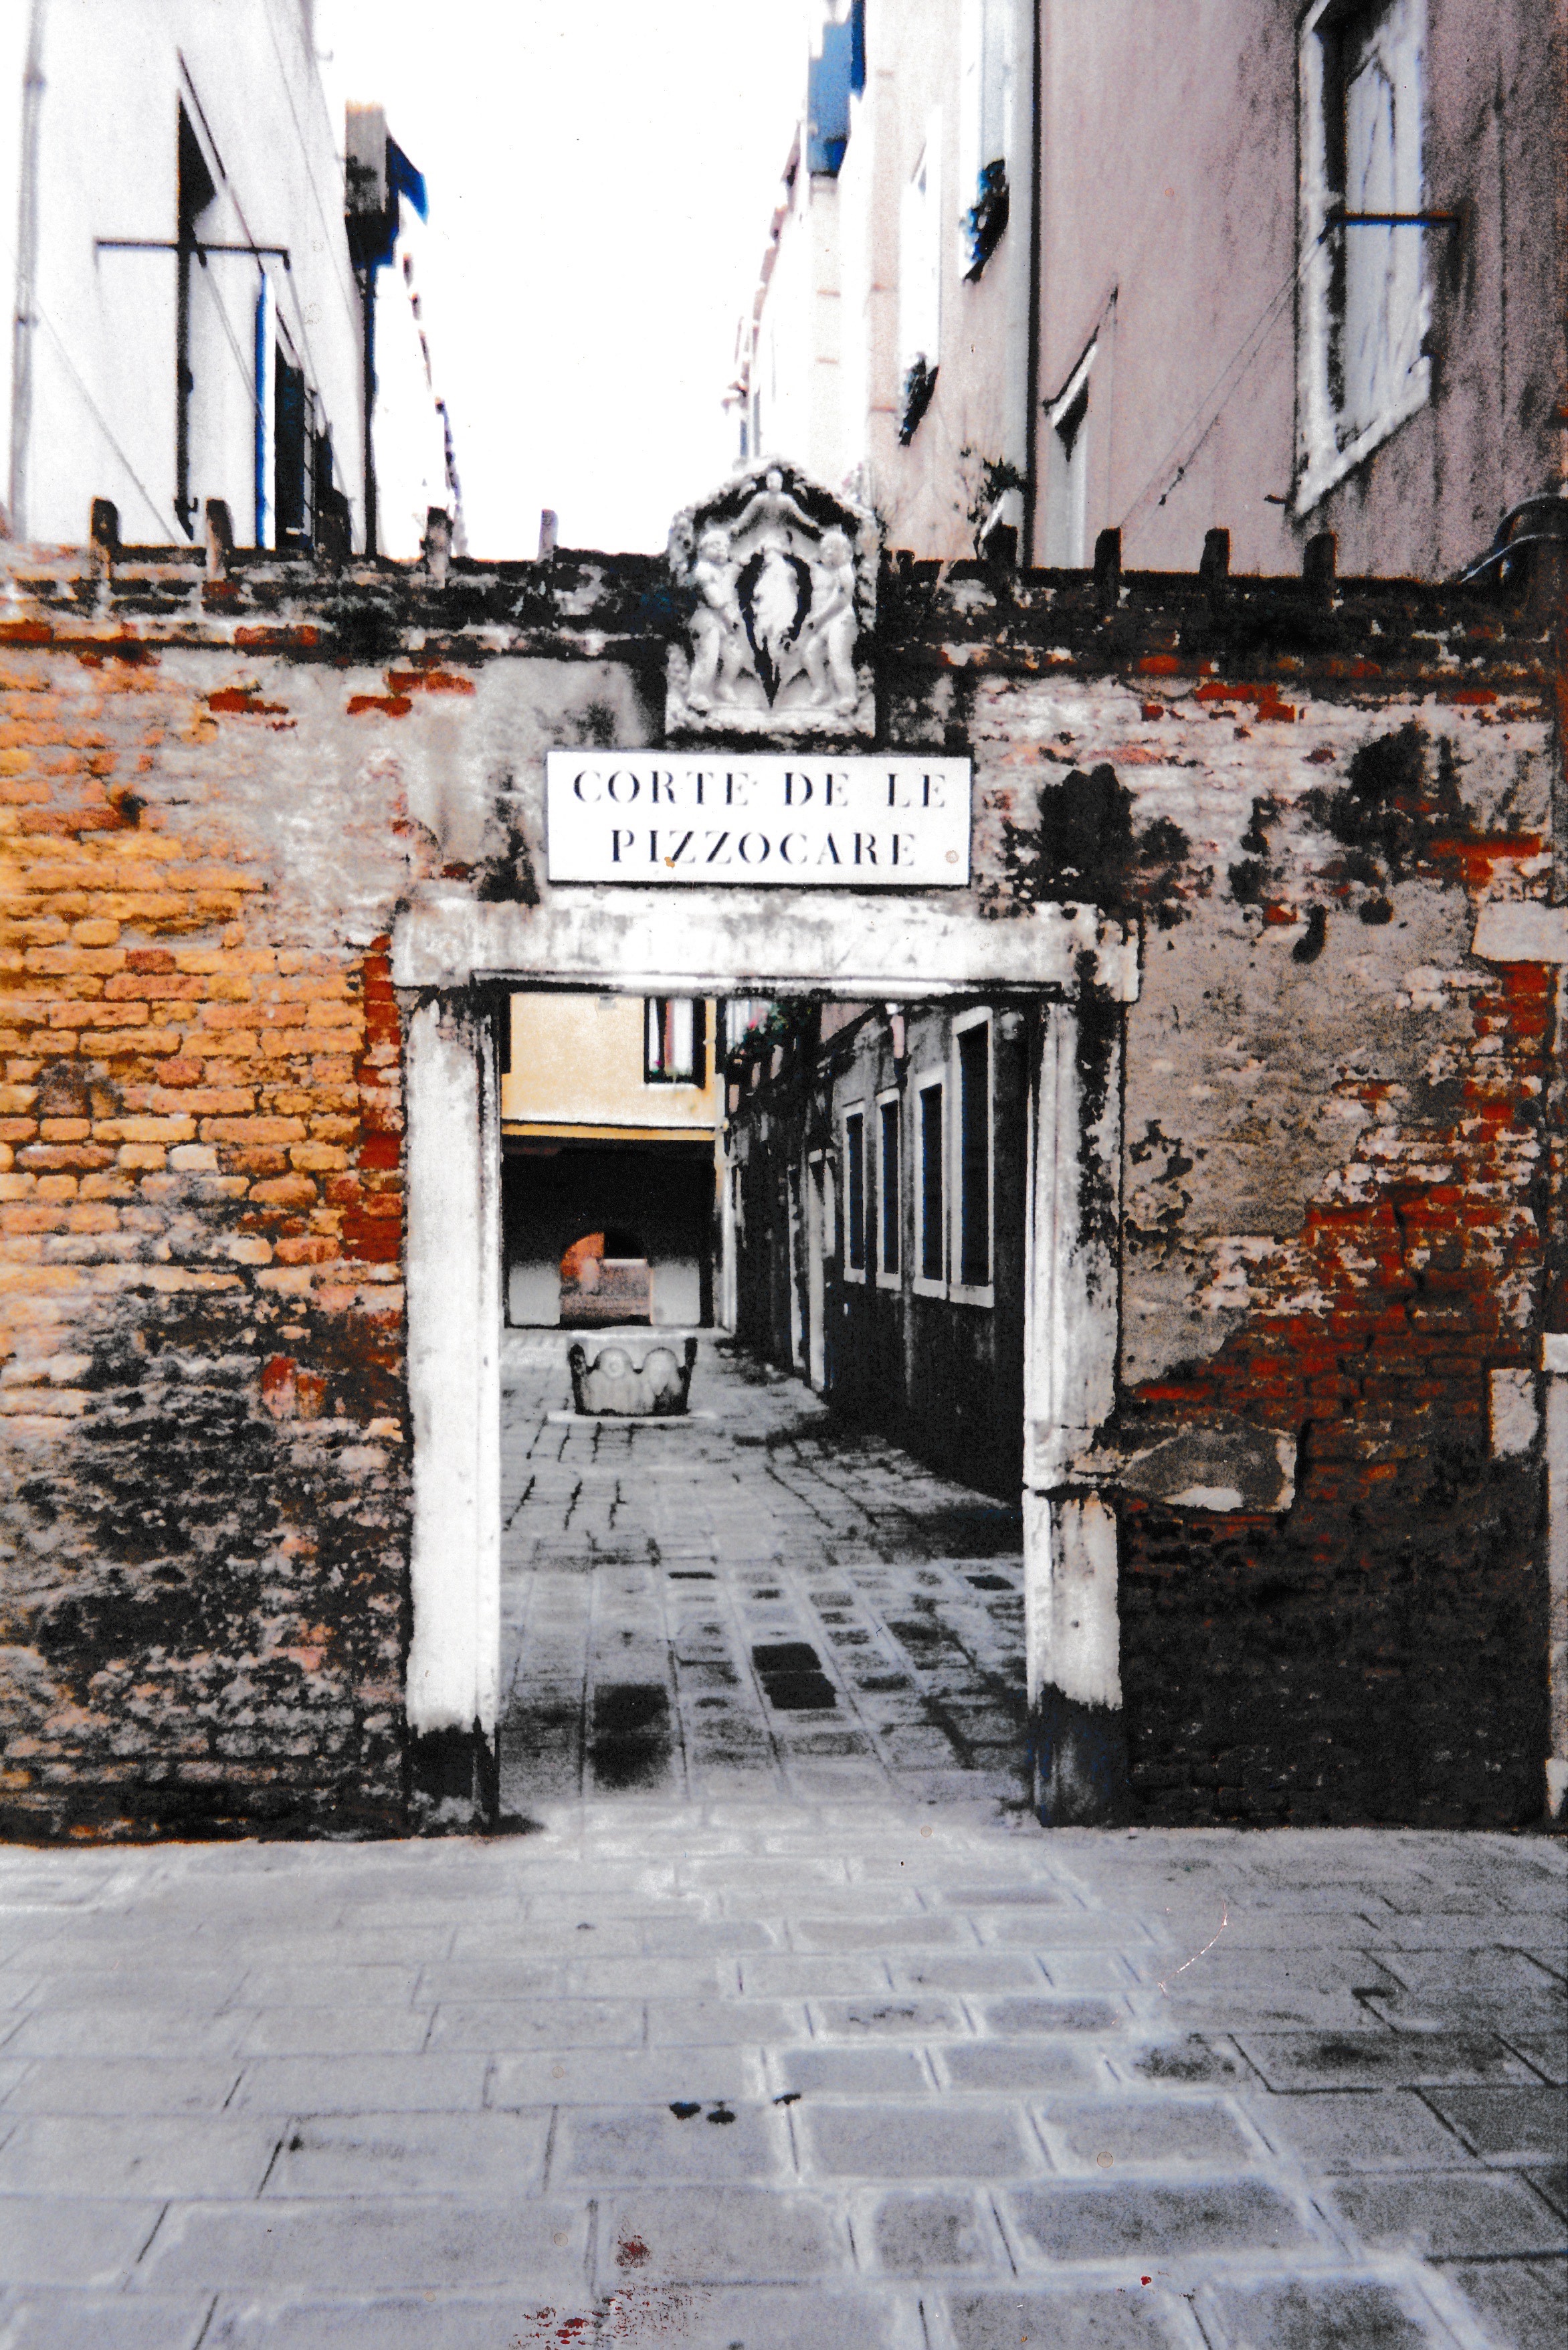
A courtyard gateway in Venice, home to some of the city’s legendary cats.
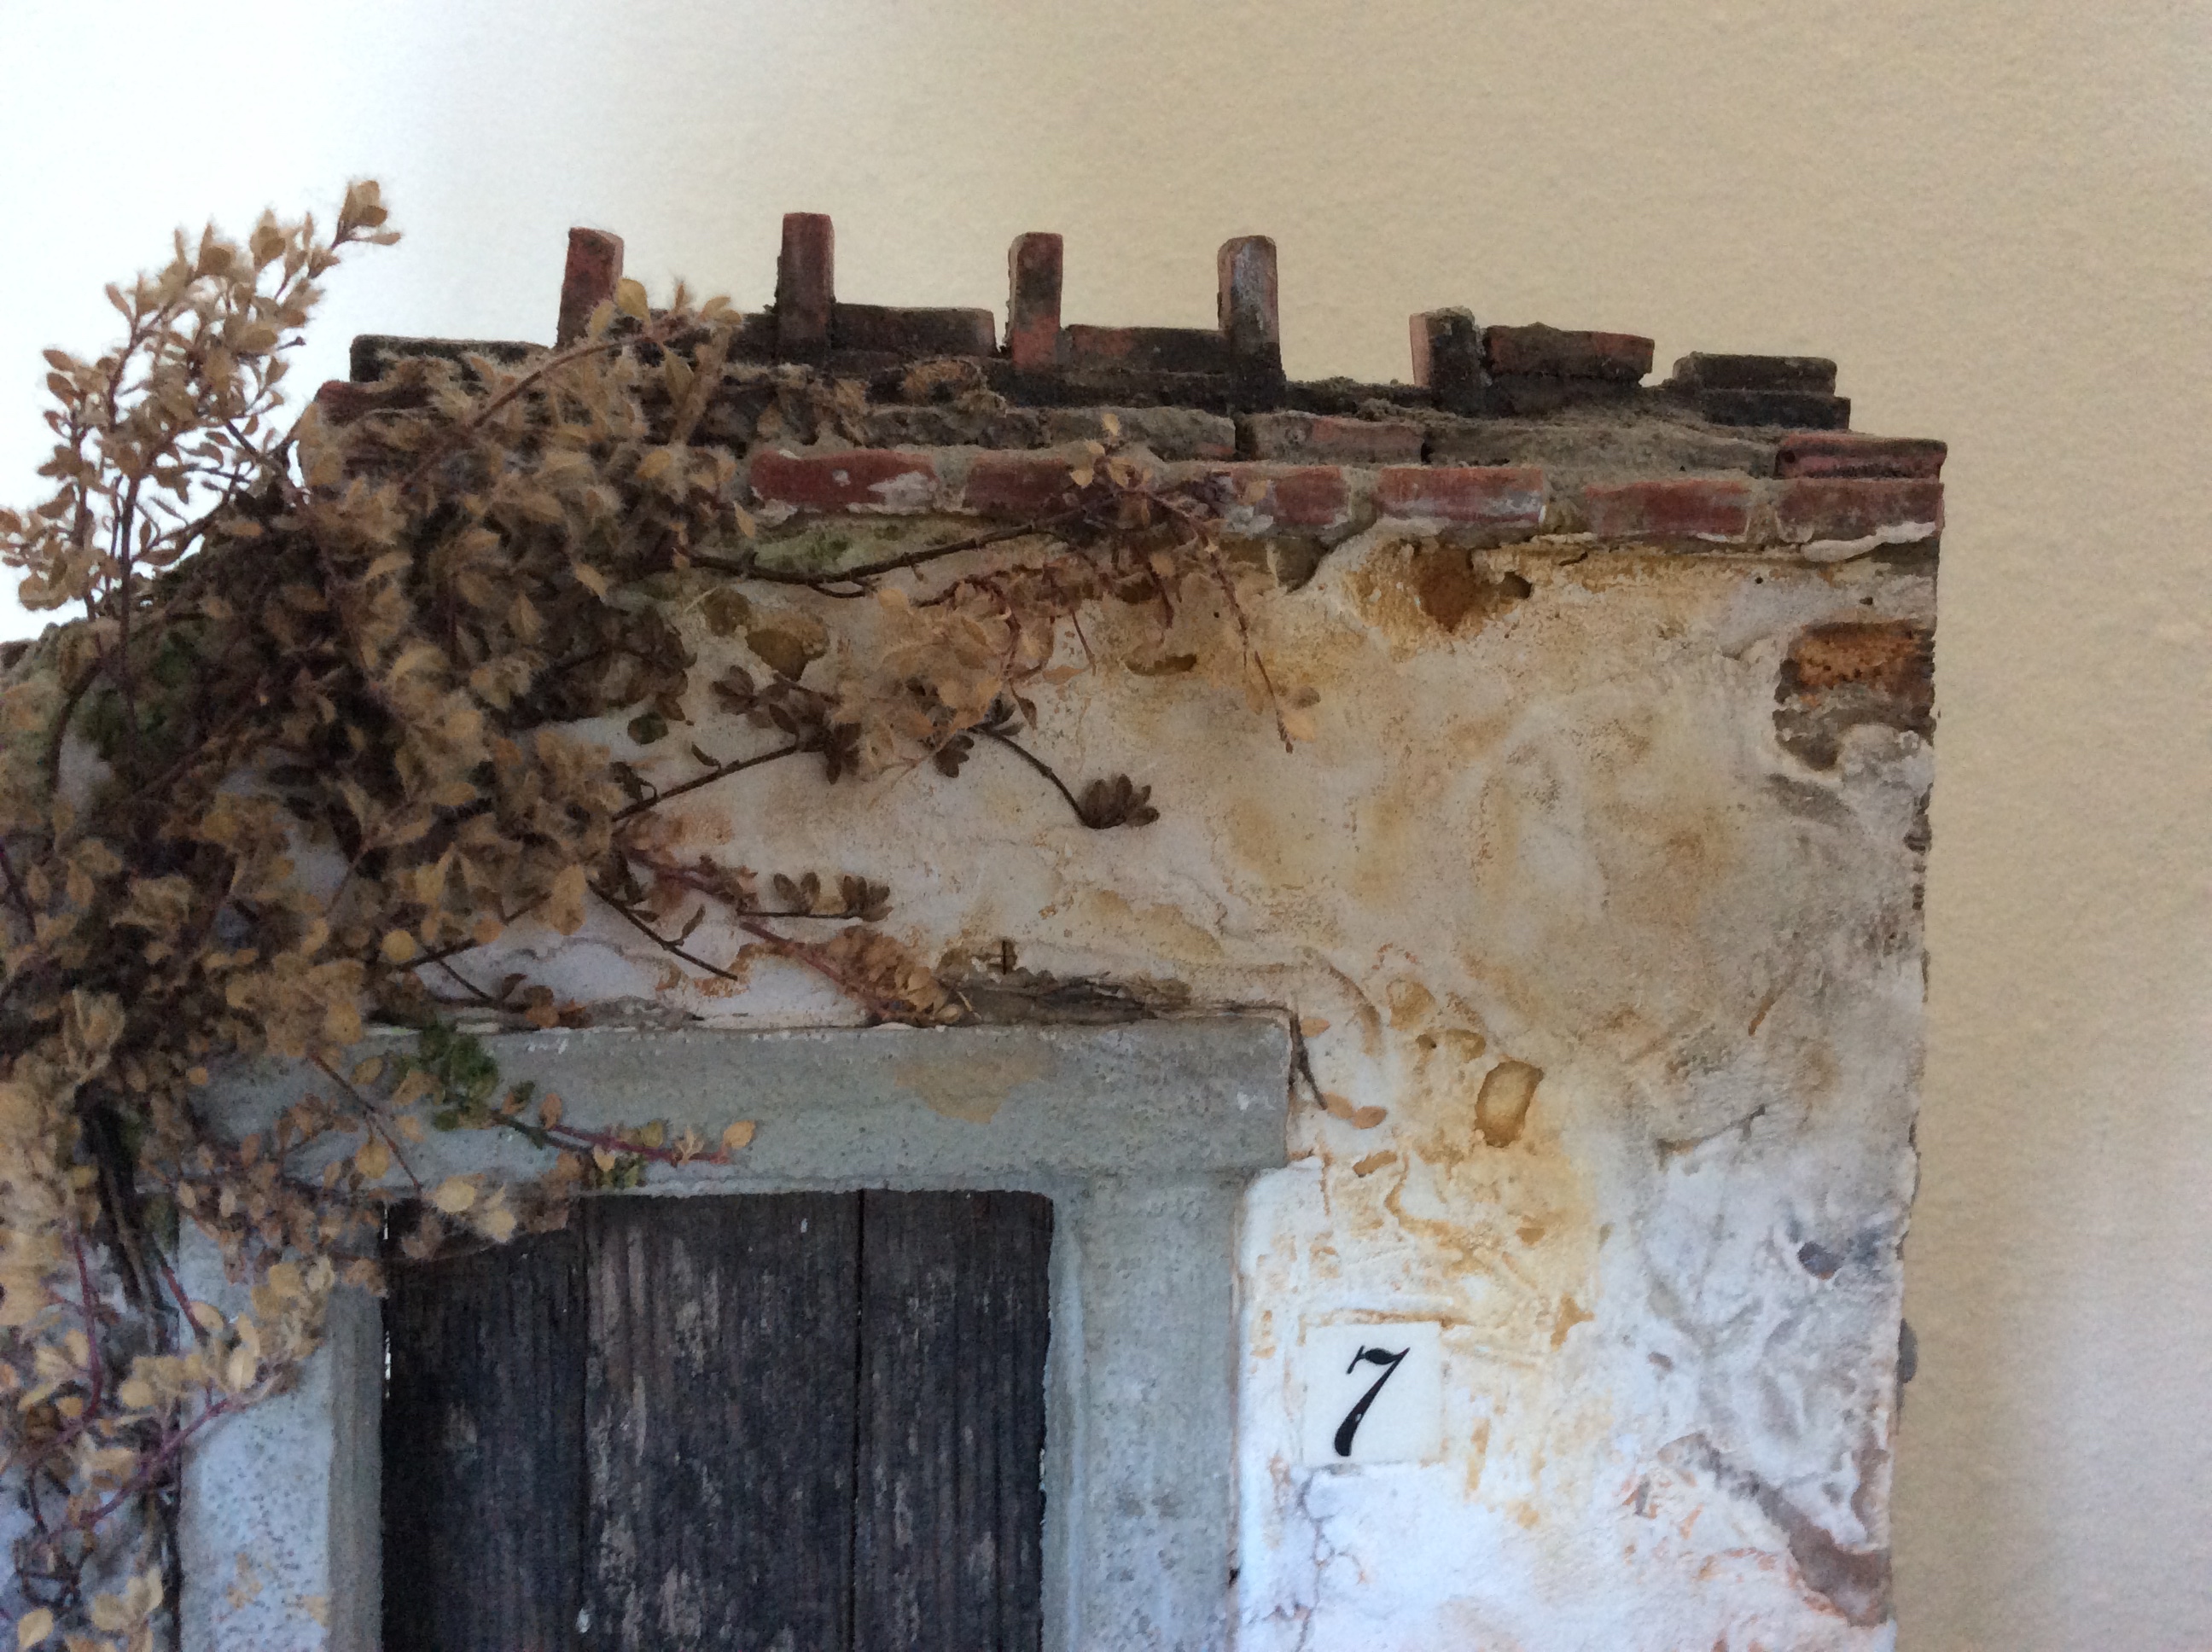
Our aim was to suggest a wall, similar to the one in the photo, once covered with plaster, but now eroding from the ground up. To achieve this, Noel laid whole and broken bricks in an irregular pattern, rather than the running bond commonly seen here in the States. To add more characteristic eccentricity, he then glued a second and occasional third layer of bricks—enough so the bottom rows, with some chinks out, would stick out further than those higher up, as if the wall were still shifting and breaking away. The address tile was a glazed porcelain mini floor tile, sanded with 600 grit emery cloth to reduce the sheen. The #7 came from a sheet of press-type.
Next, he applied both full and flat bricks to the face of the project in an irregular pattern to achieve the illusion of the rubbled contours of a crumbling wall.
The top of the structure, in the notched pattern called crenellation we saw all over Italy, is also brick over ply.
Crenellation at the top of the Ruin
To save on bricks for the workshop, Noel first built up the thickness of some areas of the wall with additional stripwood. The plaster bricks at the top had an odd way of repelling the Elmer’s, a problem remedied by laying heavy bead of glue along the base of the crenellating bricks, then sprinkling them with dirt, for “tooth”, which held everything in place until the glue dried.
The “sandstone” door frame was made from our favorite Bondex Quick Plug, mixed with water and cement adhesive and applied over the stripwood framing. We later “eroded” the face of the brickwork using an Exacto and 400 grit sandpaper, then grouted them with Quick Plug, wiped off with a damp sponge.
The versatile Quick Plug also makes up the surface of the stone walkway. Once the sawdust and glue mix dried enough to form a good crust, we spread on a thin, even layer of cement, then spritzed it with water to smooth it more. We then carved in the paving stone shapes with an Exacto and a putty knife. Once the walkway was set, but not totally hard, Noel went back with 400 grit wet/dry emery cloth, and, with a circular motion, further glazed the surface.
Front view, bricking and plaster detail
To achieve the rough, stucco-like wall, we used Plaster of Paris, applied with a putty knife (which some students may remember went south in one class, for unknown reasons, and wouldn’t stick). The addition of a small amount of cement adhesive to the plaster may have saved the day. You’ll notice some rows of bricks are plastered over, then scraped away later to expose only parts of the bricks.
The faded ochre color Noel chose to reflect the soil–hence the stucco–of Florence and surrounding Tuscany, where we spent most of our trip. In Venice the wall would have peach tones, while in Rome the plaster is often a pinkish-rose. To paint the piece, he laid it on its back and saturated the dry plaster with water before applying the color with various Grumbacher acrylics and a #10 watercolor round brush. To make the bricks look more Florentine, he also painted on washes of the wall colors, adding deeper colors to indicate the illusion of brick where there was none. The inside, or courtyard-facing wall is entirely indicated brick, which saves time and bricks, and gives the artist some play time with paints. Rust stains, algae, general dirt and grime are also achieved with the paints. If you’re new to painting, sneak up on it—begin with a lot of water, and apply the color sparingly in built-up layers. If you don’t like what you get, flood it with water and wipe it out. It may be that what you have left is the color you want.

Back, or courtyard-facing side of the project.
The non-functioning door is made from the bottom 6” of an old weathered shingle, rescued from the kindling box. Noel cut the shingle into board widths—the side planks approx. 5/8” wide, the middle one 1”, to fill the space–using the unadulterated weather side of the shingle for the door’s street side. He then ran the boards through the table saw to plane the shingle taper to an even thickness of approx. 1/8”. This left a new cedar surface for the inner, or garden side. This “clean” side of the boards was aged by wire-brushing, to bring back the grain. Next, Noel grayed the boards with Bug Juice, and tinted them with muddy green washes made from various leftover cans of green latex paint. Sorry to be so vague on color, but this is how we worked–a little of this, a little of that. He then distressed the door bottom with more wire-brushing and an Exacto knife.
The door cross-braces were cut from the same shingle, distressed to match the rest, and glued to the door. They were then spiked with 5/8” steel brads rusted by soaking in a shallow dish of Bug Juice which was then allowed to evaporate. The brads are cut to length with wire-cutters. Noel started a hole for each “spike” with a push pin, then tapped in the brad, leaving the head slightly protruding to give the illusion of the wood having eroded from around the spike.

Workshop in Florence, with greenery
At the end, I stepped in as the gardener, adding the sprigs of creeping thyme, a ground cover I grew in the yard and dried in silica gel. To green-up the dried leaves, I painted them with Grumbacher sap green tube watercolor, thinned with a little water. Once they were dry, I dotted the back of the stems and leaves with tiny beads of Elmer’s, then carefully held them in place on the wall until the glue took hold.

Rubble, painted-on brick, and vine detail
Having built our miniature reputations as purveyors of the old, Noel and I found Italy–our 20th wedding anniversary gift to ourselves– to be right up our alley. We wanted to soak up as much as we could. To pursue the charm of the streets. To savor every doorway, every crumbling wall, every gritty evidence of Italy’s volatile journey to the present. The added attraction to hoofing it 10-15 miles per day was that we could absorb, without added poundage, endless mouthfuls of pollo arrosto, biscotti, cappucini and gelati.
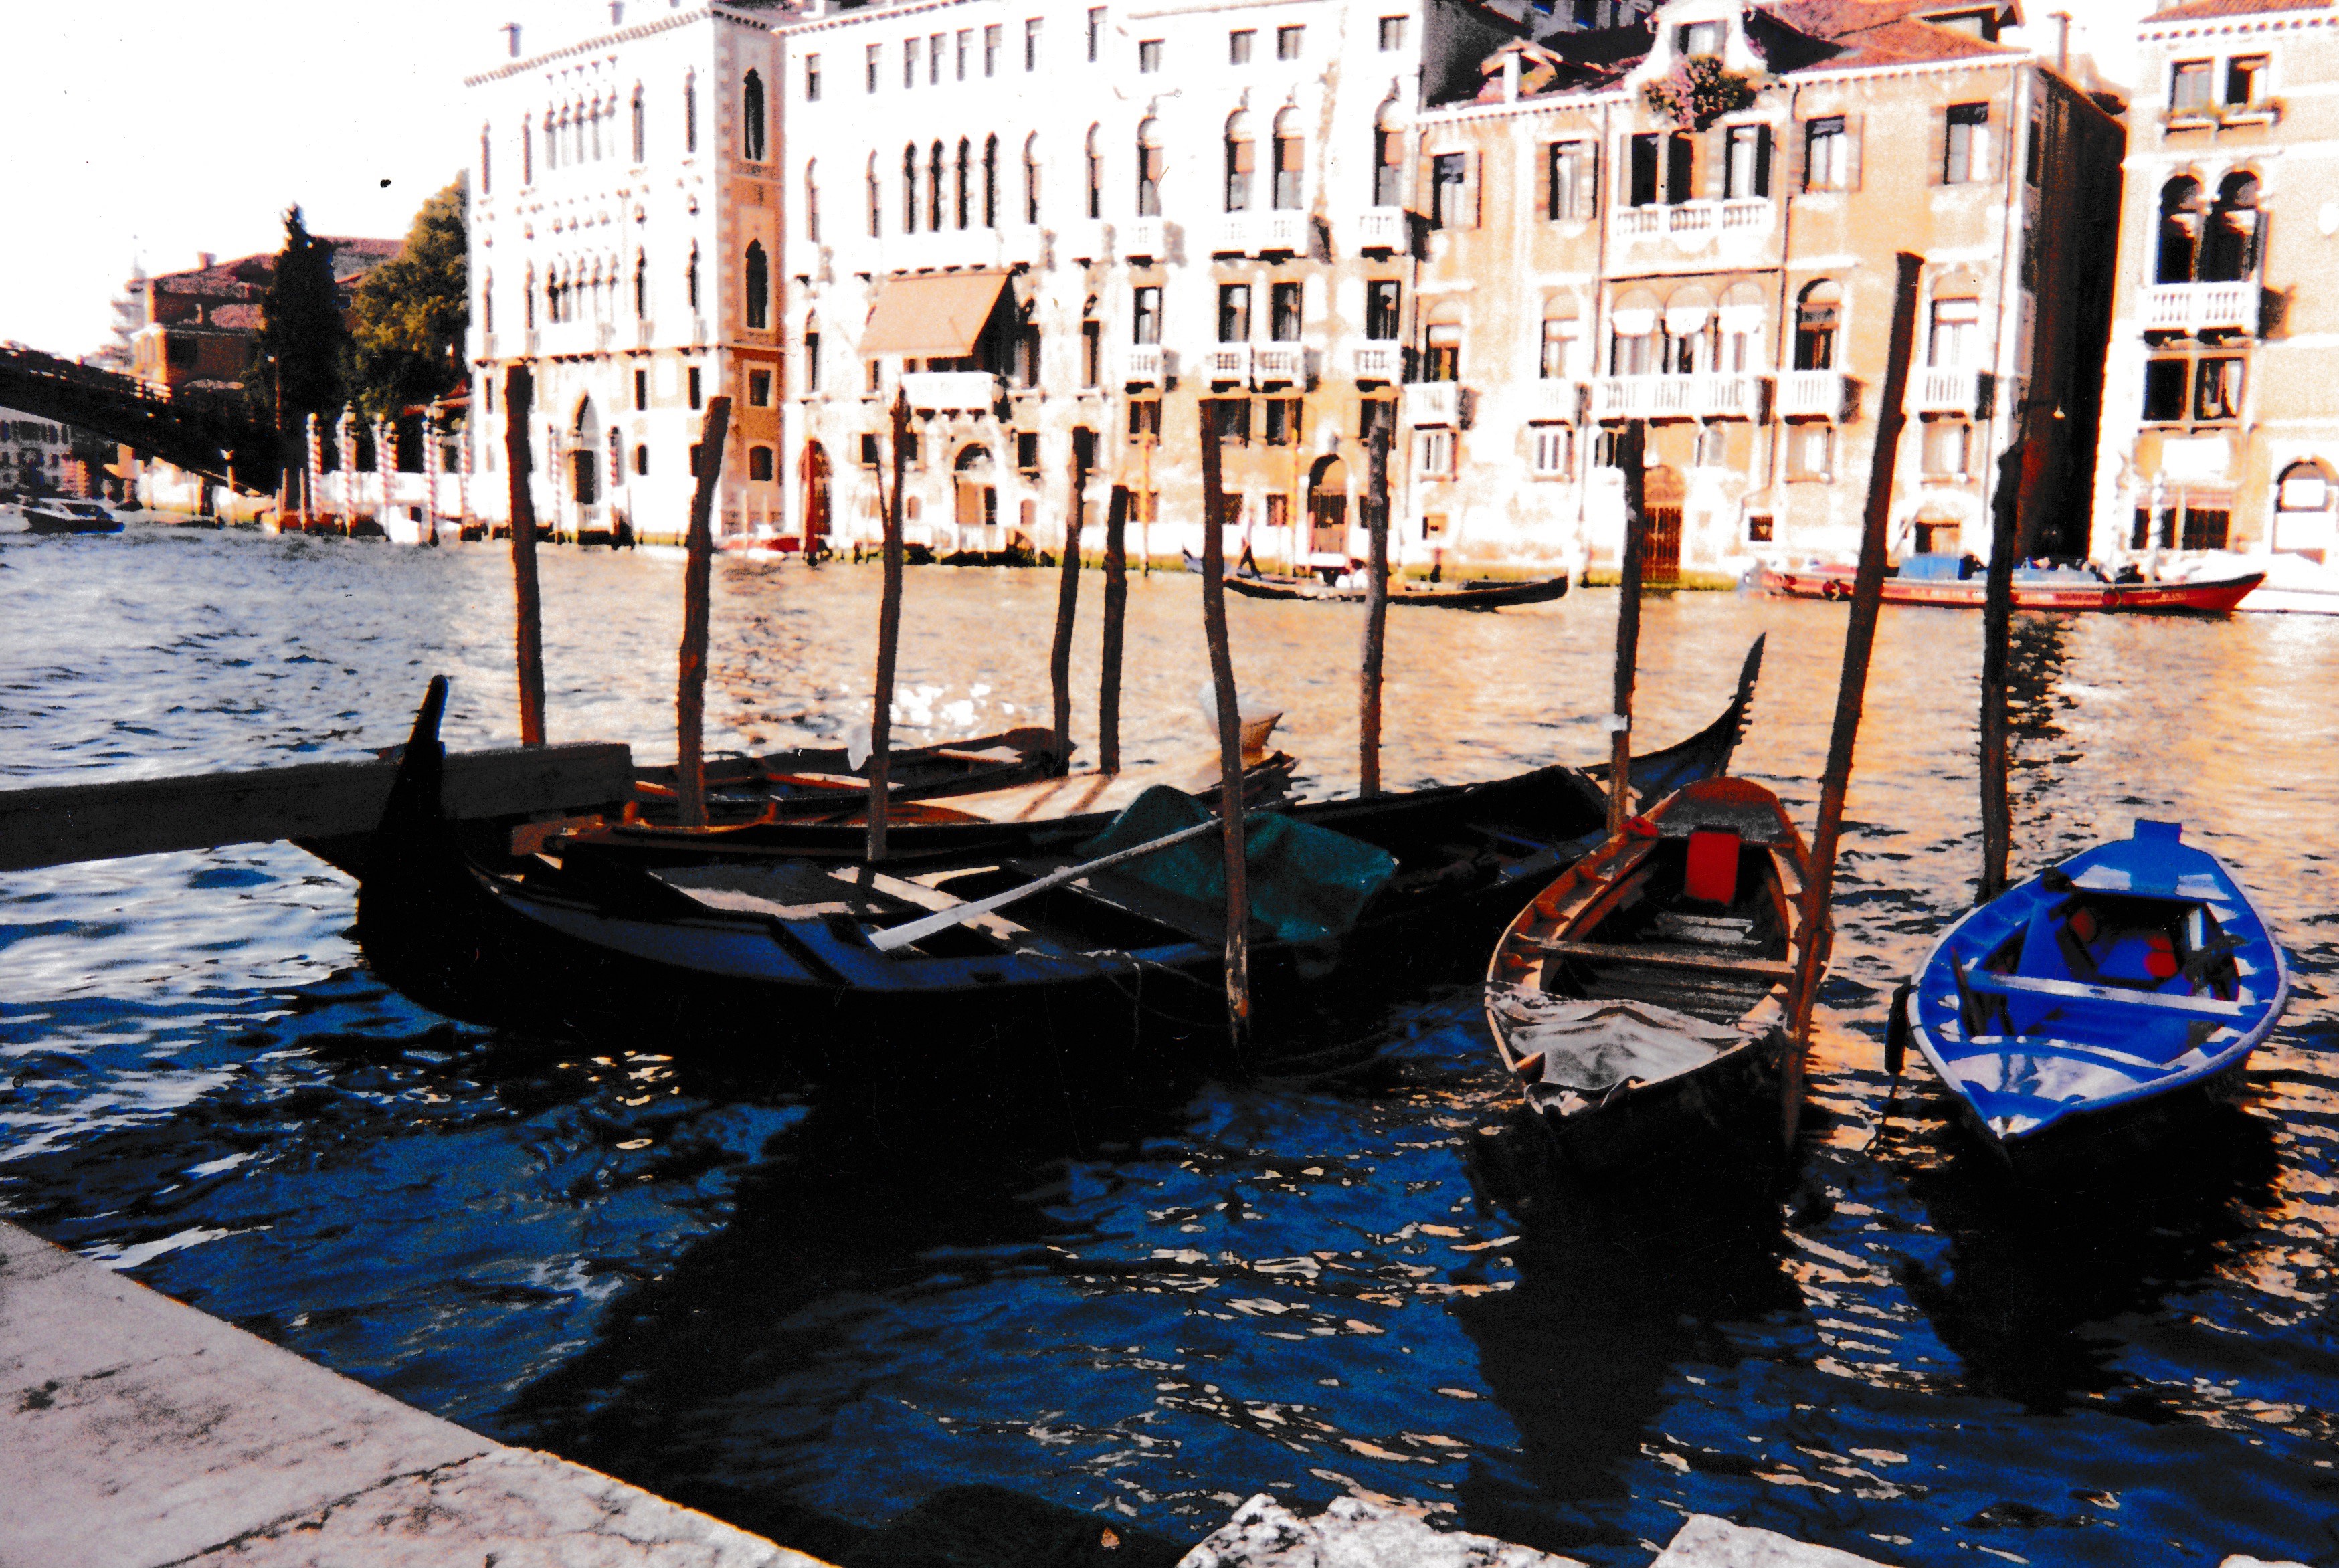
Venice, our favorite day. This old photo doesn’t begin to convey the thrill we felt as we stepped off the train, but there it is–Venice in all its crumbling and drowning beauty.

Absolutely fantastic. I often find myself wandering the streets of Florence looking at those same things that captured your imagination and your miniature building. The most amazing thing about the Italian city scape is in fact the aged walls and how many times they’ve been plastered or bricked over. It’s looking at centuries of patchwork that gives each building its own identity. Thanks for sharing your techniques. Lovely as always.
Thank you, Peggy. It’s true about the layers and patching builds the character of the building and the place. Too bad we have to condemn and tear down so much–it erases the stories. Imagine if we had the tower in Pisa, or Venice!
Thank you for posting the Garden Wall #7. I am always thrilled when you put out another bit on your breathtaking pieces. And thanks once again for refreshing me on techniques.
Julie Littlejohn
Granite Falls, WA
Thanks, Julie, glad you’re enjoying it.
I love this garden door and will try to create one. While visiting Italy last year I fell in love with doors and took so many photos of doors and arches that I made a quilted wall hanging of them so I can enjoy seeing them all the time. Thanks for the clear instructions.
Sandy Riggins
Antioch, CA
You guys are just wonderful . . . I don’t know what else to say. . . true artists.
I love Astoria (my step-dad is from an old Astoria family), it’s a lovely place to call home! (That is when you aren’t off traveling the world! 😉
Thanks for sharing techniques. I would love to take a workshop but am not sure when I could. I learned about quick plug and concrete glue from you and am going to pick some up today and start playing with the products. Please continue to share your info!
Do you ever have troubles with natural materials like the thyme you dried out desintegrating over time? Ive read about others using glycerine to keep the material preserved.
Have you seen “The Weathering Magazine”? Not that you need it, but it is a really informative publication and I believe there are 12 issues out now.
Thanks, Simon. We retired from miniatures and teaching several years ago, so the blog is more or less a review of our techniques. I preserved my thyme in silica gel, and it has held up pretty well, but any plant matter will deteriorate over time. Ideally it should be replaced every few years. I’ve never worked with glycerin, but it’s worth a try. And, of course, there are people making wonderful plants out of longer-lasting materials. Haven’t seen Weathering Magazine but it sounds like a good source. Good luck with your projects!